DIY Computer Hardware Installations: A Step-by-Step Guide


Introduction to DIY Computer Hardware Installations
Are you looking to upgrade your computer hardware but hesitant to spend extra on professional installation? With the right guidance, you can successfully install new components yourself. This step-by-step guide will walk you through the process of DIY computer hardware installations, empowering you to enhance your system without the need for outside help.
Understanding Your Computer's Anatomy
Before diving into the installation process, it's crucial to familiarize yourself with your computer's internal components. Most desktops and laptops consist of a motherboard, CPU, RAM, storage drives, power supply, and more. Understanding what each part does and how it connects will pave the way for a smoother installation experience.
Tip: Always ensure your computer is powered off and unplugged before starting any hardware installation.
Tools You Will Need
To get started, gather the necessary tools for the job. Typically, you'll need a screwdriver set, anti-static wrist strap, and a flashlight. These tools will help you safely and efficiently install your hardware. An anti-static wrist strap is particularly important to prevent static electricity from damaging delicate components.
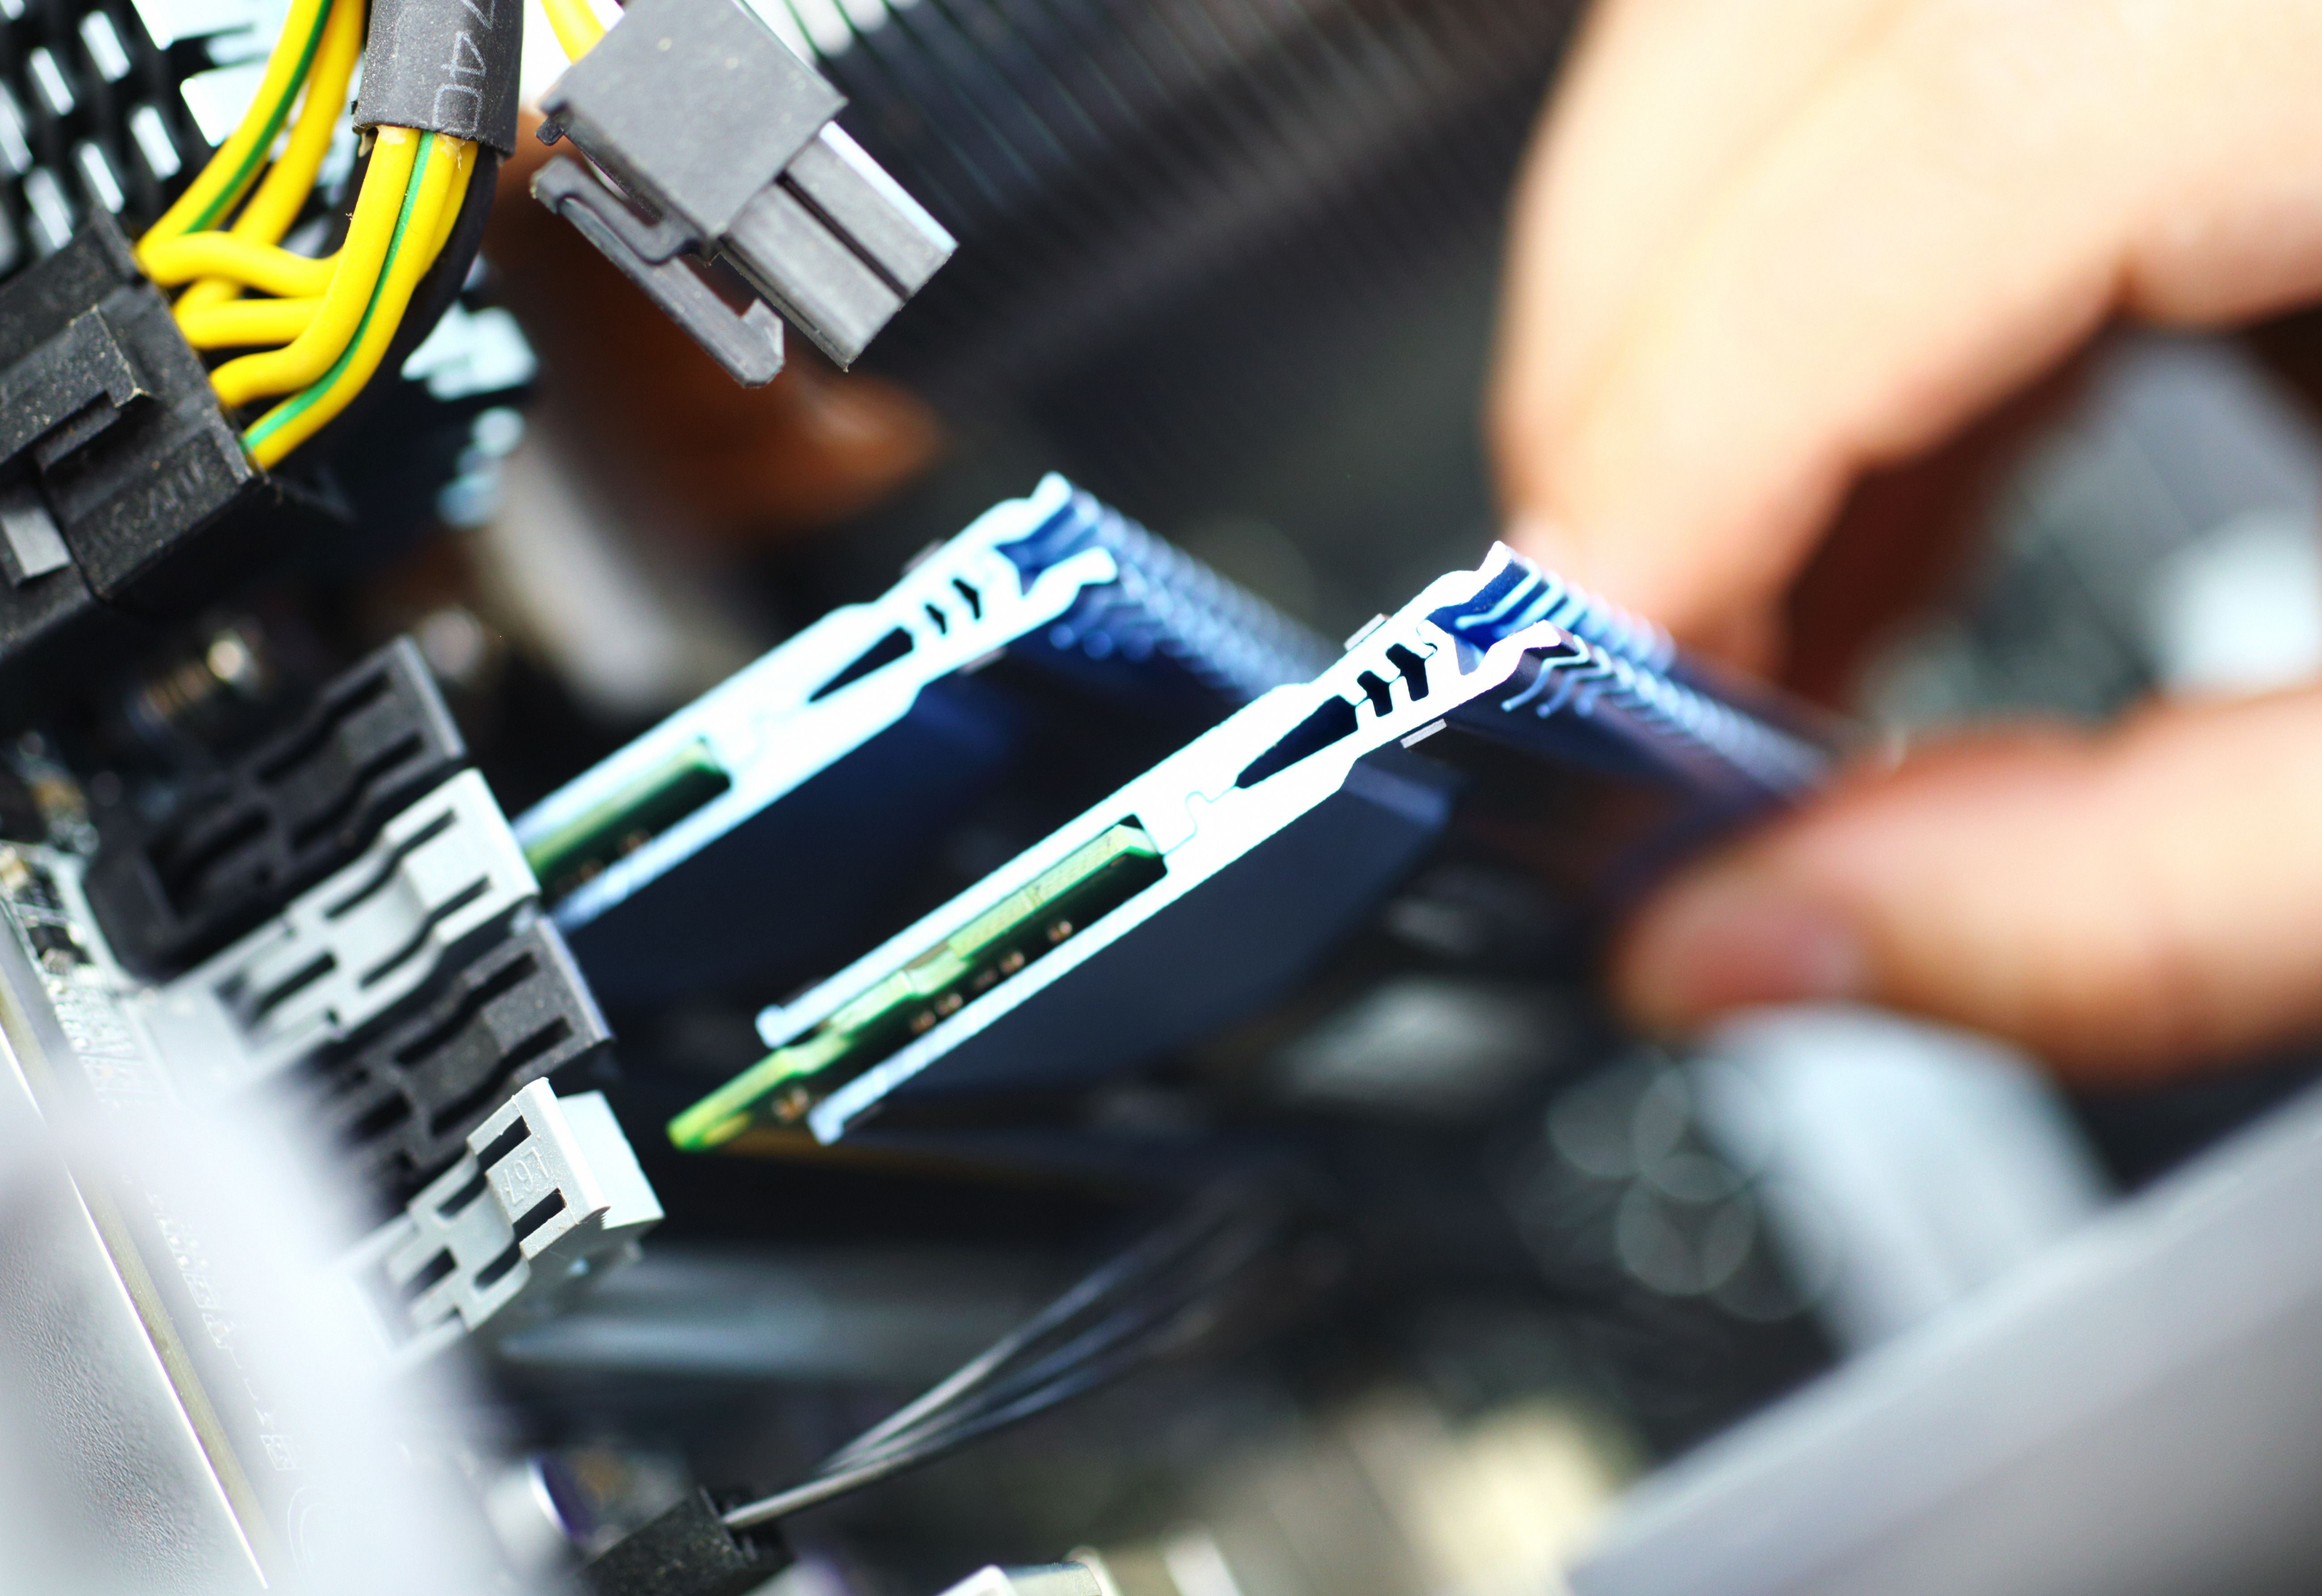
Installing RAM
Upgrading your RAM is one of the simplest ways to boost your computer's performance. Follow these steps to install new RAM:
- Open your computer case by removing the screws holding it in place.
- Locate the RAM slots on your motherboard.
- Remove the existing RAM by pressing down on the levers at each end of the slot.
- Align the new RAM stick with the slot and press down firmly until it clicks into place.
- Close the case and secure it with screws.
Upgrading Your Storage Drive
If you're looking to enhance storage capacity or speed, upgrading to a Solid State Drive (SSD) can make a significant difference. Here’s how to do it:
- Back up your data before starting the installation.
- Open your computer case and locate the current storage drive.
- Unscrew and disconnect the existing drive from its cables.
- Connect the new SSD using the same cables and secure it in place.
- Reassemble your computer and boot up to install the operating system or restore from backup.
Troubleshooting Tips
After completing your hardware installations, you might encounter issues when booting up. Common problems include the system not recognizing new components or failing to boot entirely. In such cases, double-check all connections and ensure that everything is securely in place. Consulting your motherboard's manual can also provide valuable troubleshooting insights.
Conclusion
By following these step-by-step instructions, you can confidently tackle DIY computer hardware installations. Not only will this save you money, but it will also give you a deeper understanding of how your computer operates. Remember, practice makes perfect, so don't hesitate to continue exploring different upgrades as you grow more comfortable with the process. Happy upgrading!